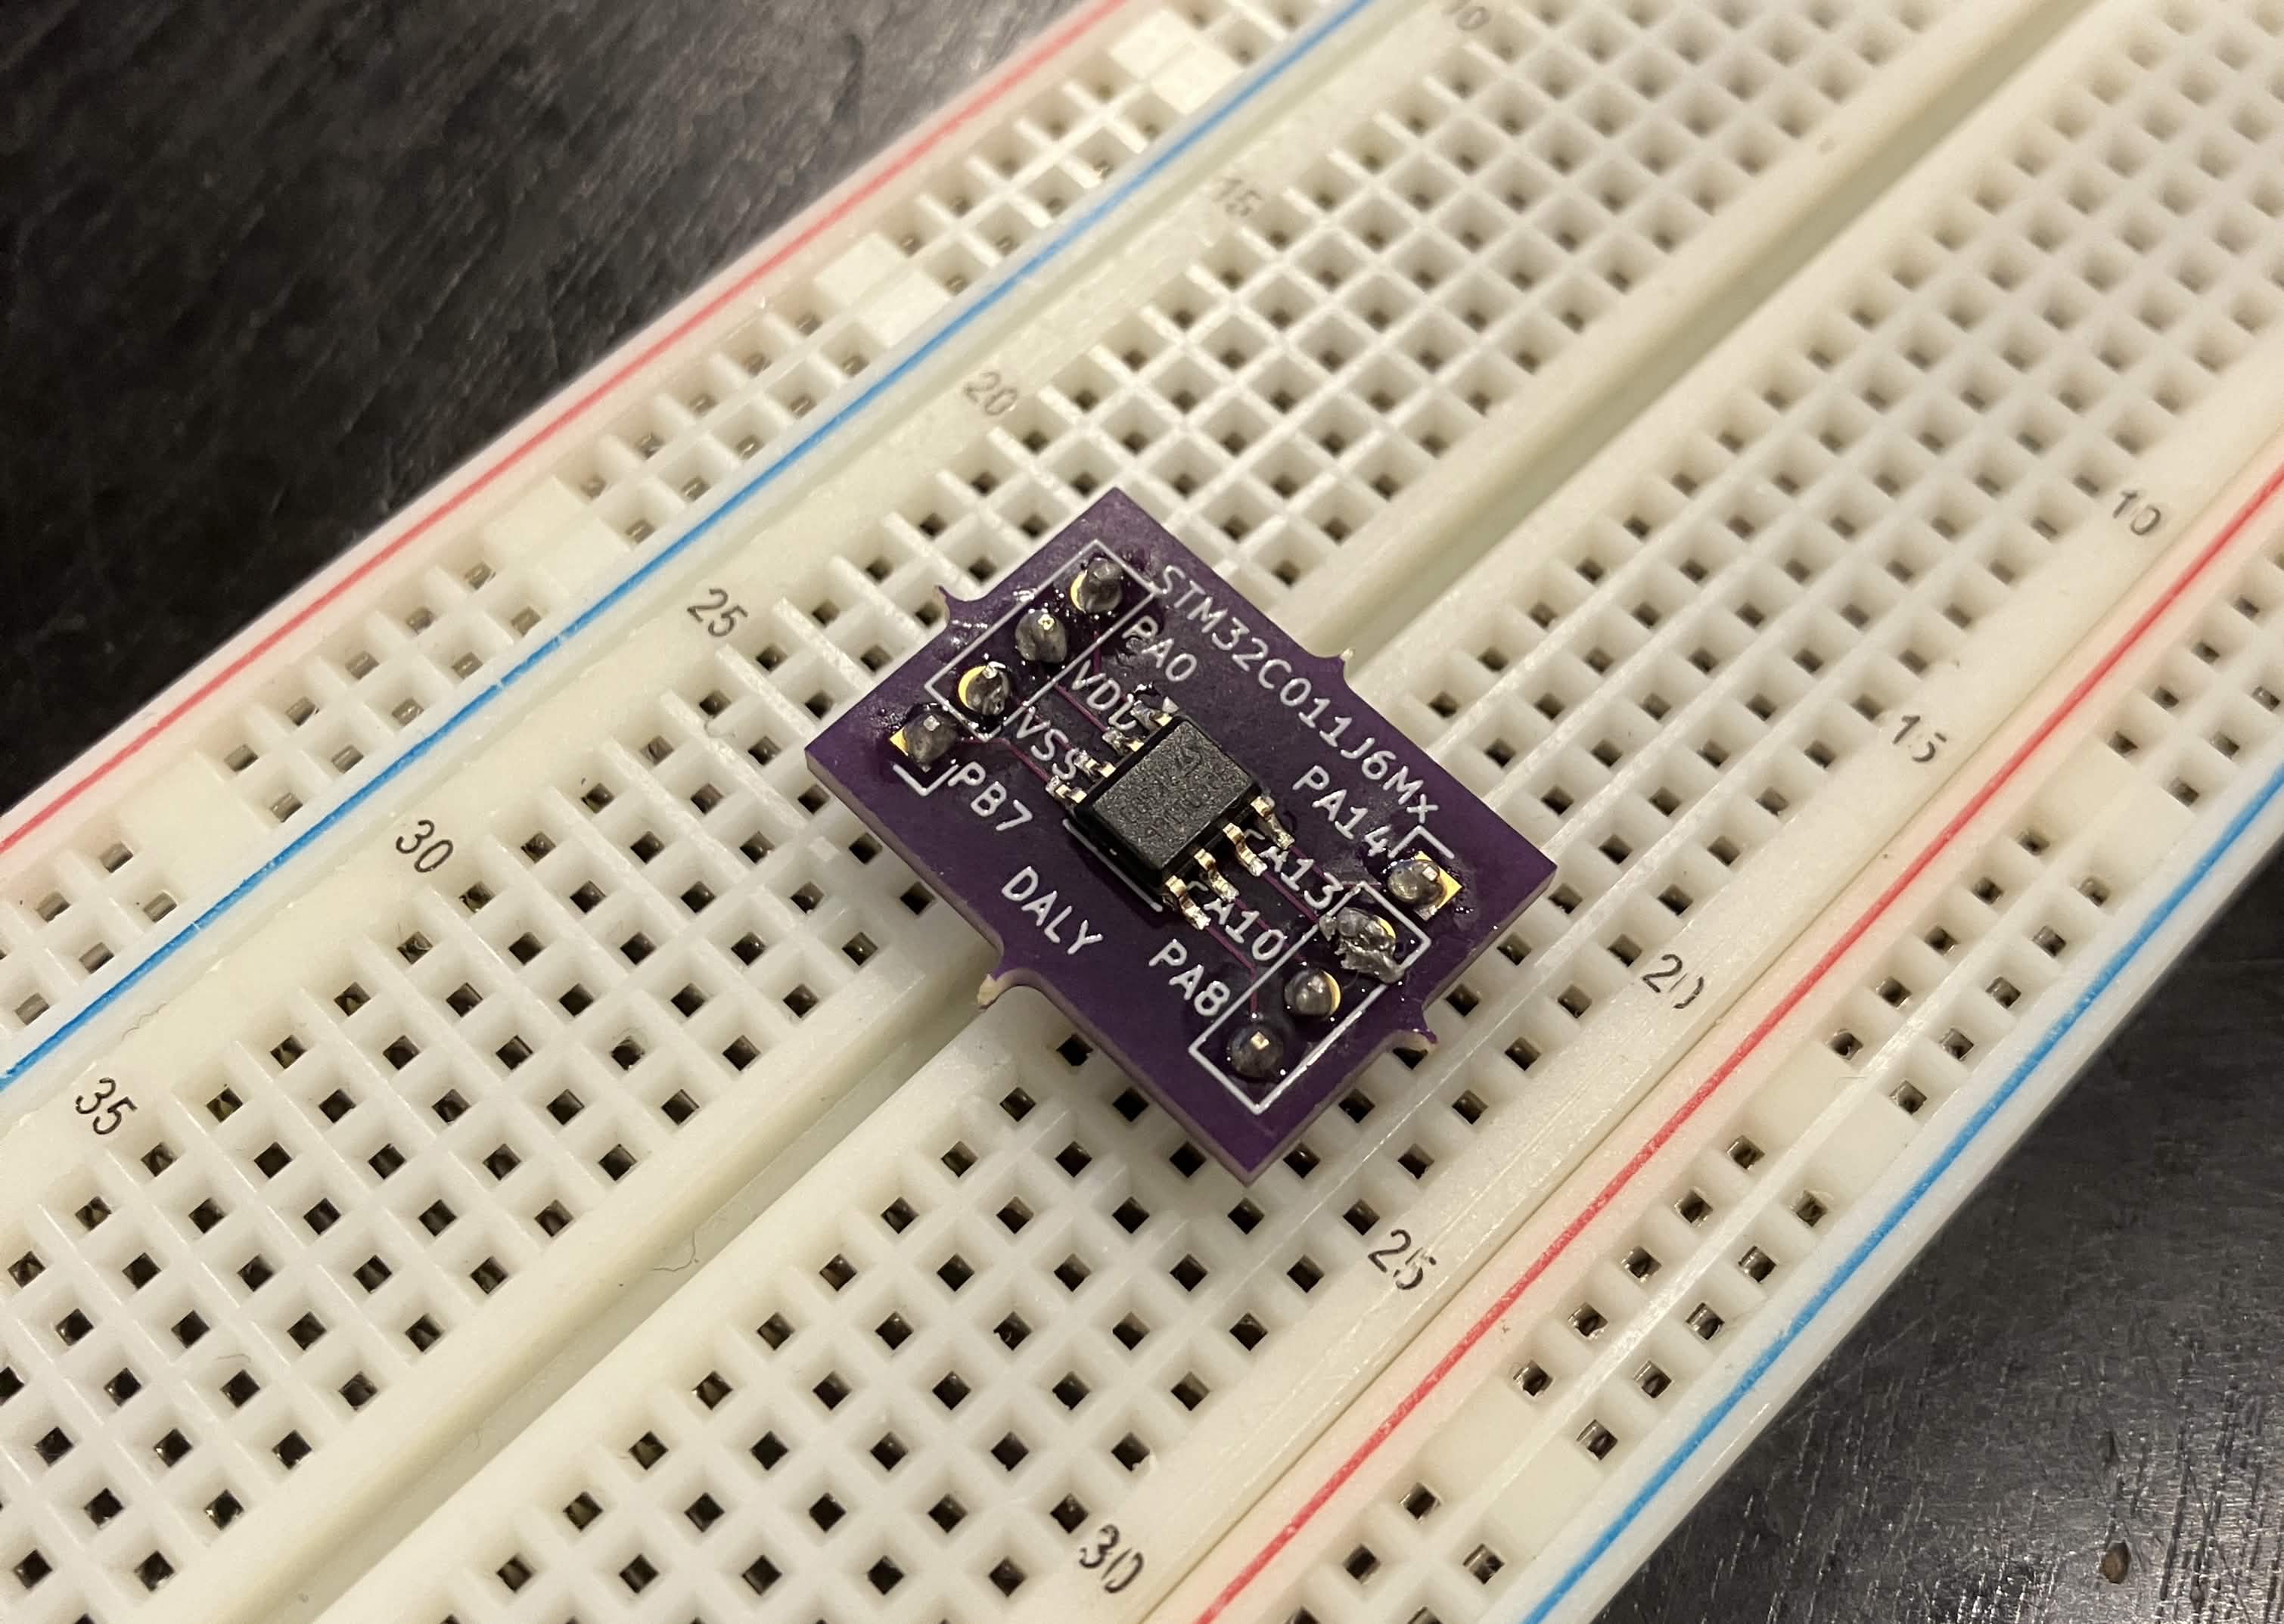
In today’s post, I use a reflow plate to solder a chip to my SOIC-to-DIP adapter.
Background
Using normal hand-soldering techniques for surface-mounted components would require surgical precision and take an eternity. Fortunately, it doesn’t need to be this way.
While the exact chemistry is beyond me, solder paste is a magical compound which behaves as a viscous paste until you heat it up, at which point it turns into ordinary solder. This is PHENOMENAL for surface-mount components.
Hardware
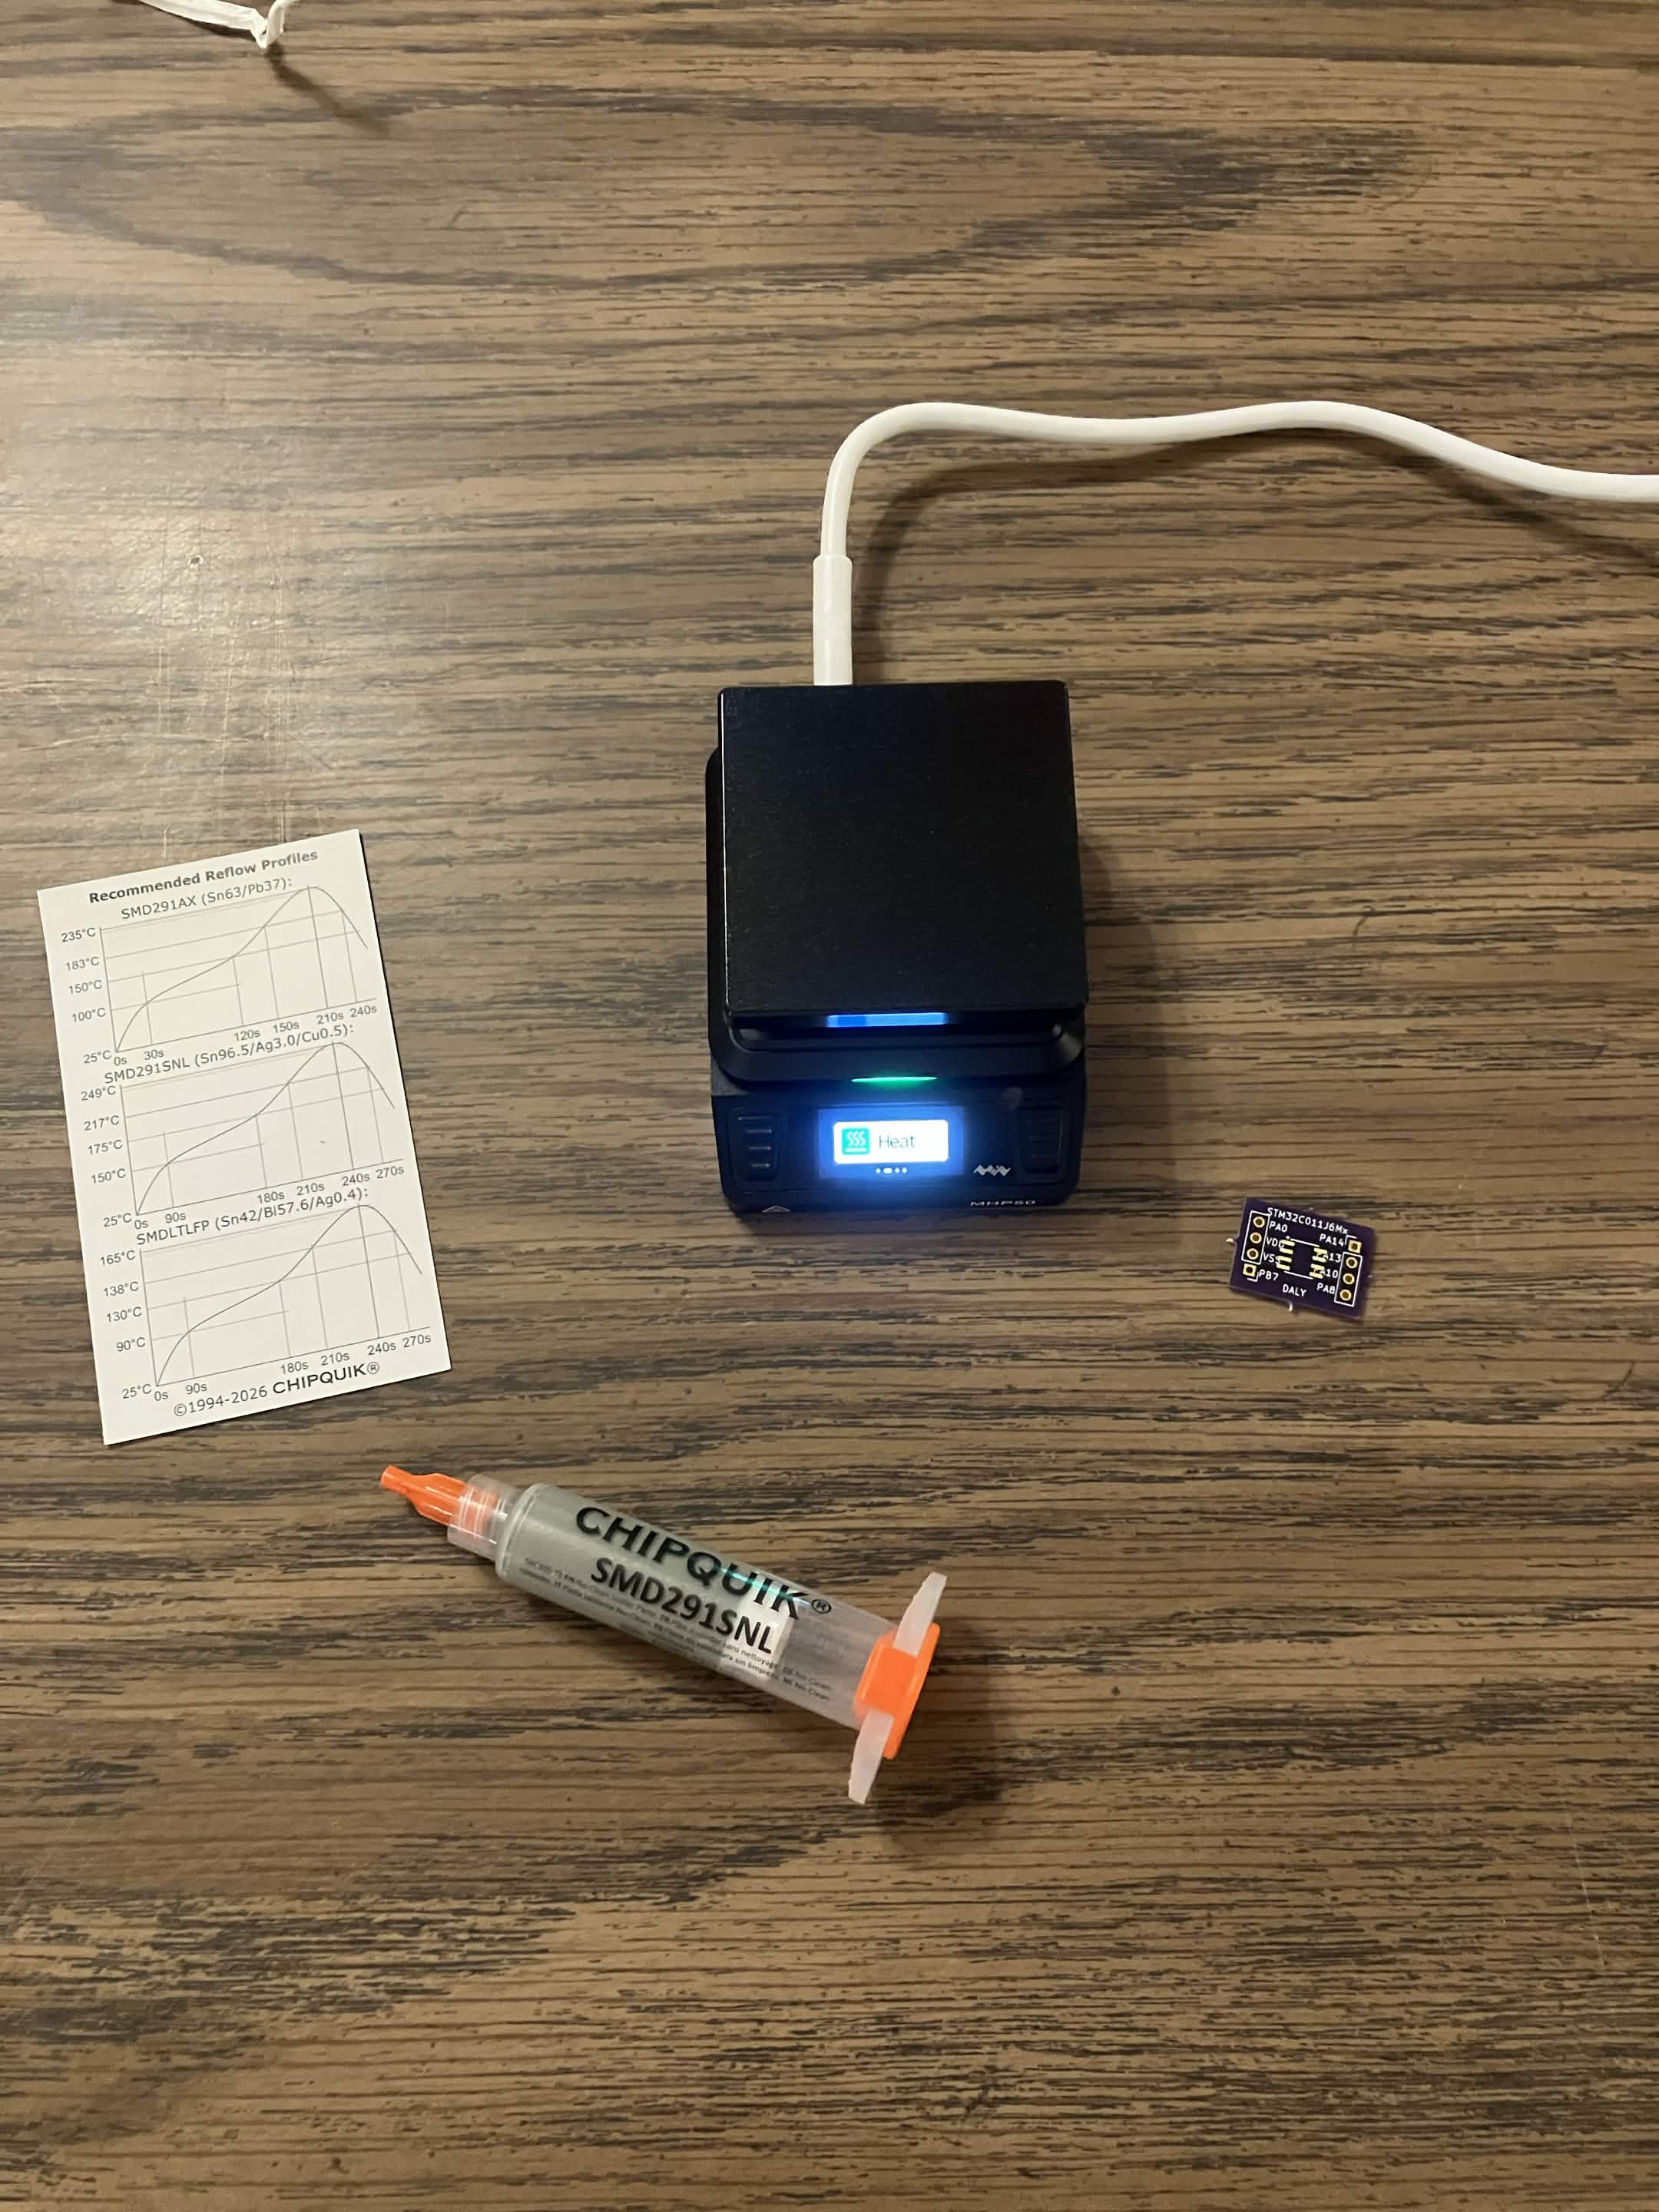
- A hot plate of some sort (I use the MHP-50, which provides configurable heating profiles)
- If you DO use the MHP-50, note that it doesn’t come with a power supply, and you need one rated for at least 100W (either USB-C or ordinary DC)
- Solder paste (I use this syringe of lead-free solder paste)
- A PCB and a component to solder to it :]
Process
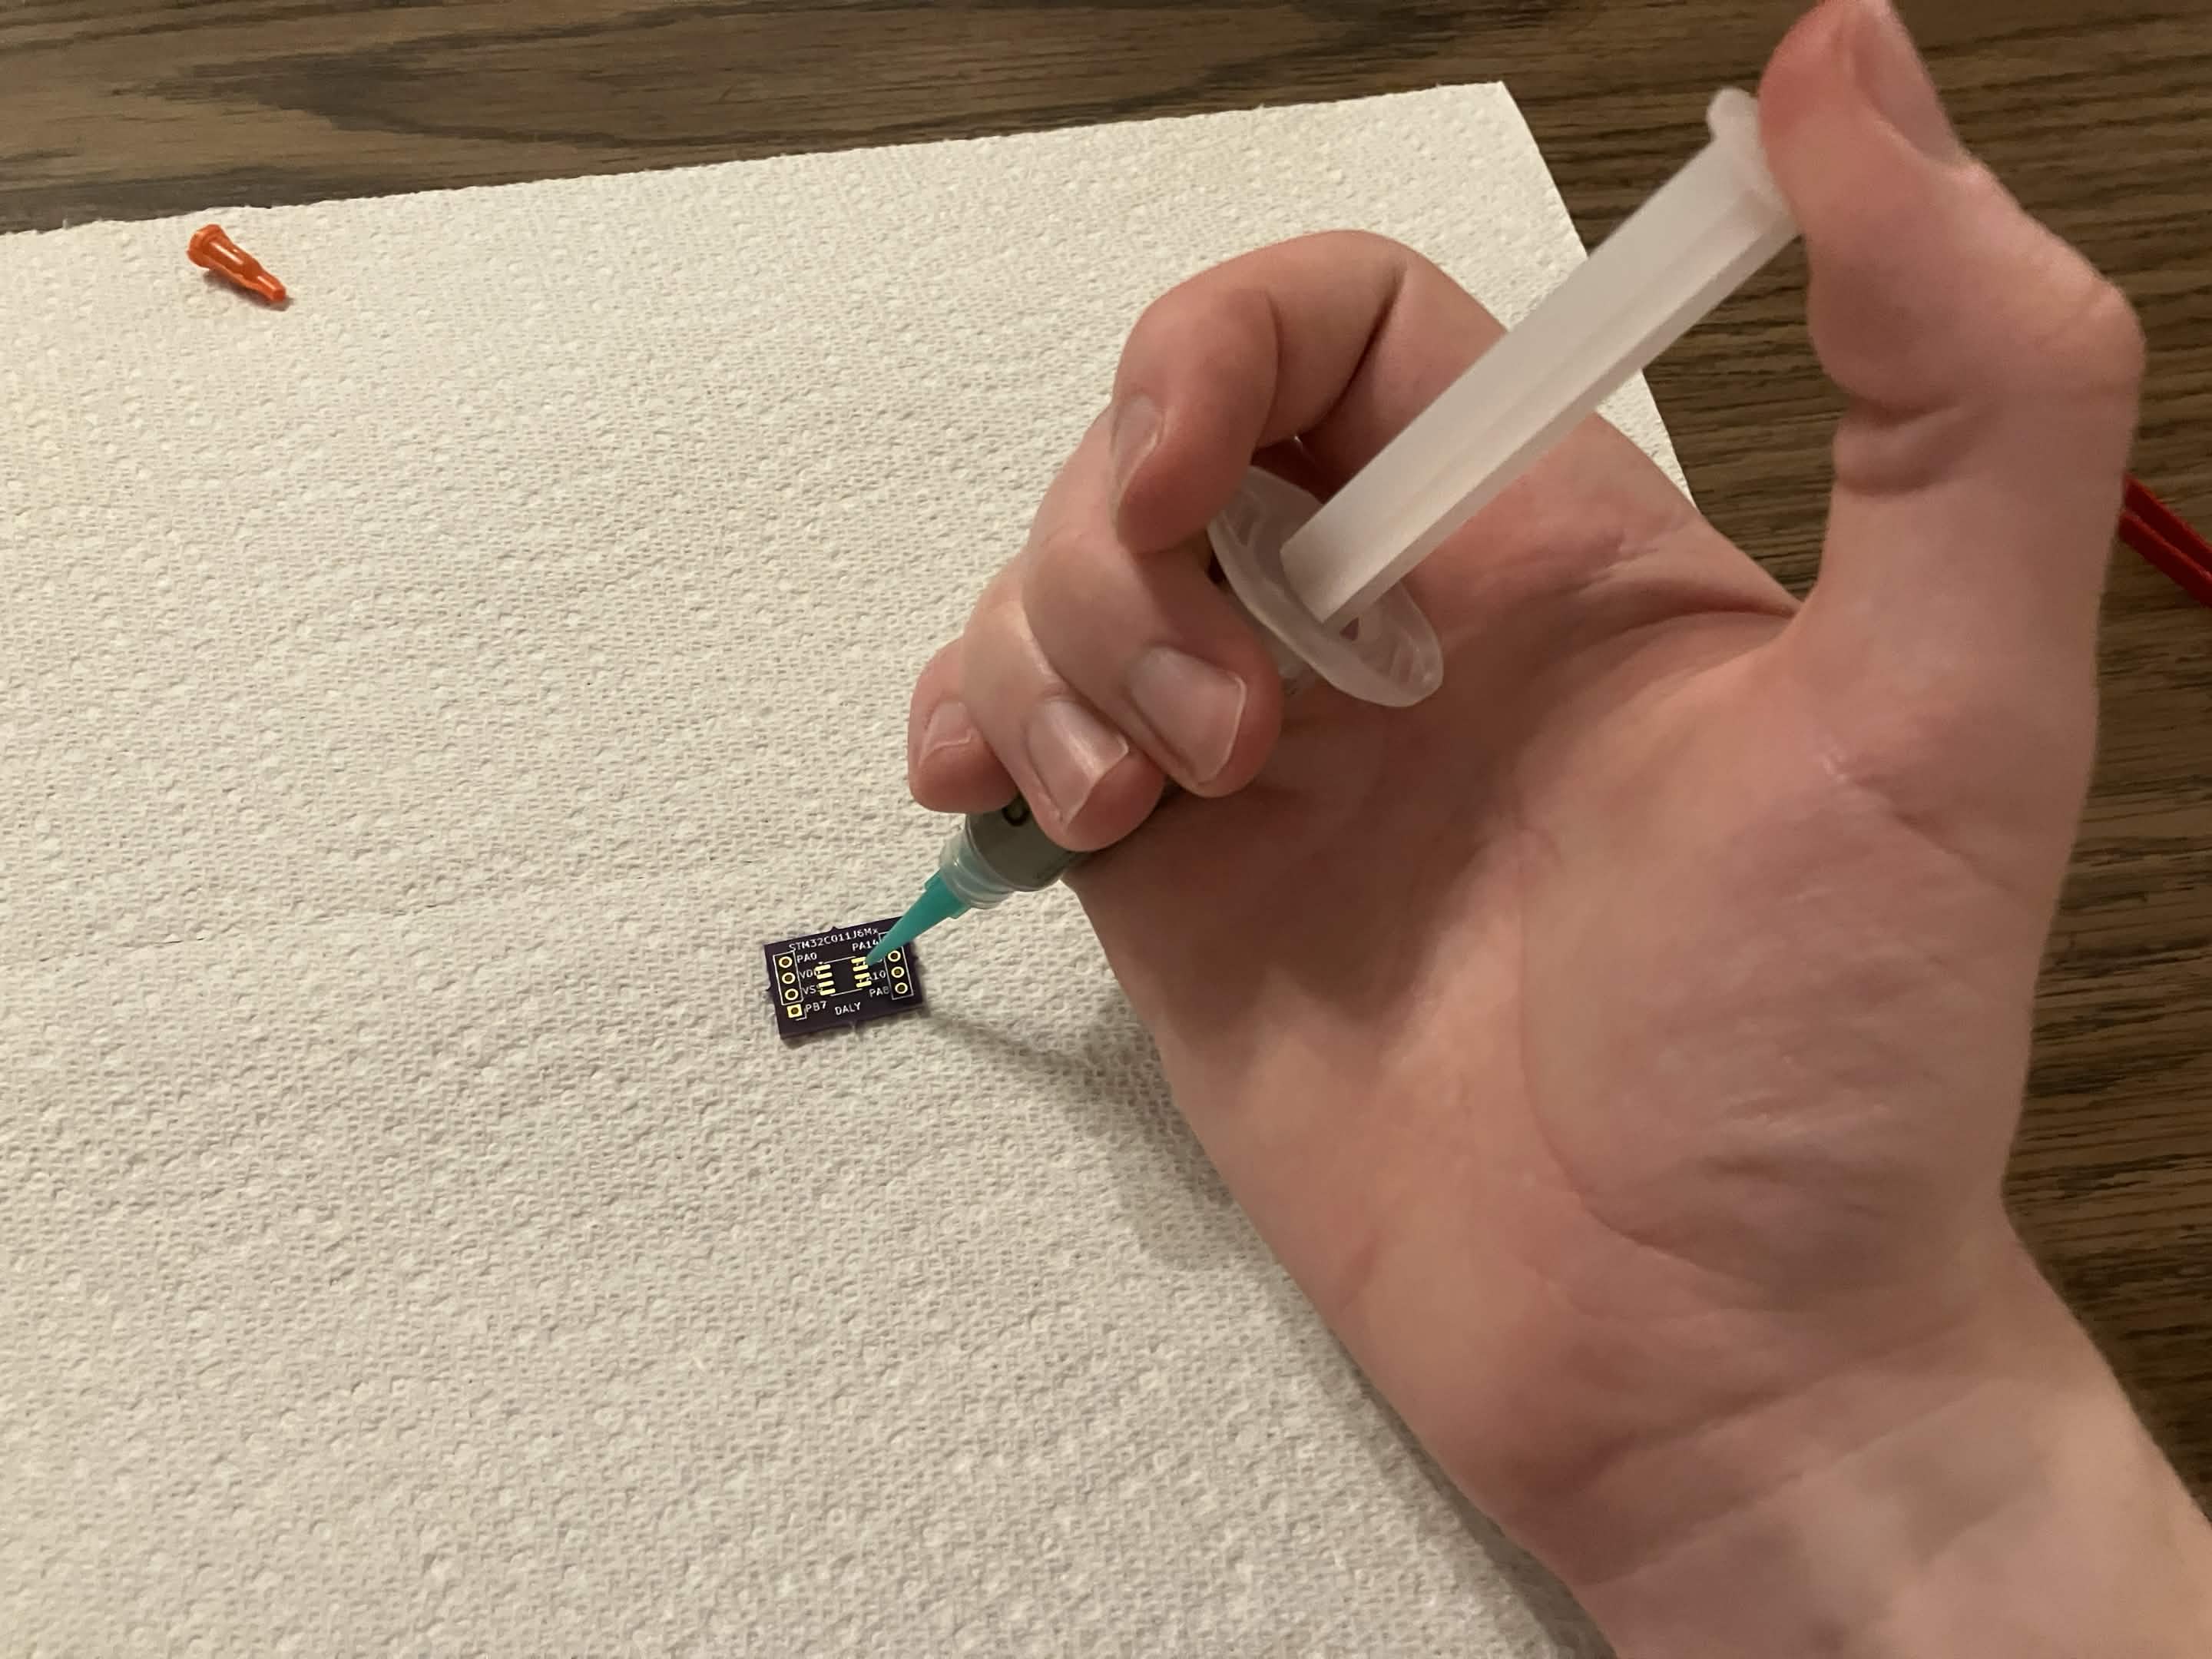
Use the syringe to carefully apply solder paste to the PCB. You need VERY little. I messed this up once in testing and, in the words of a friend, “drowned that poor thing”.
Next, carefully press your component into place, being very careful to get the orientation right:
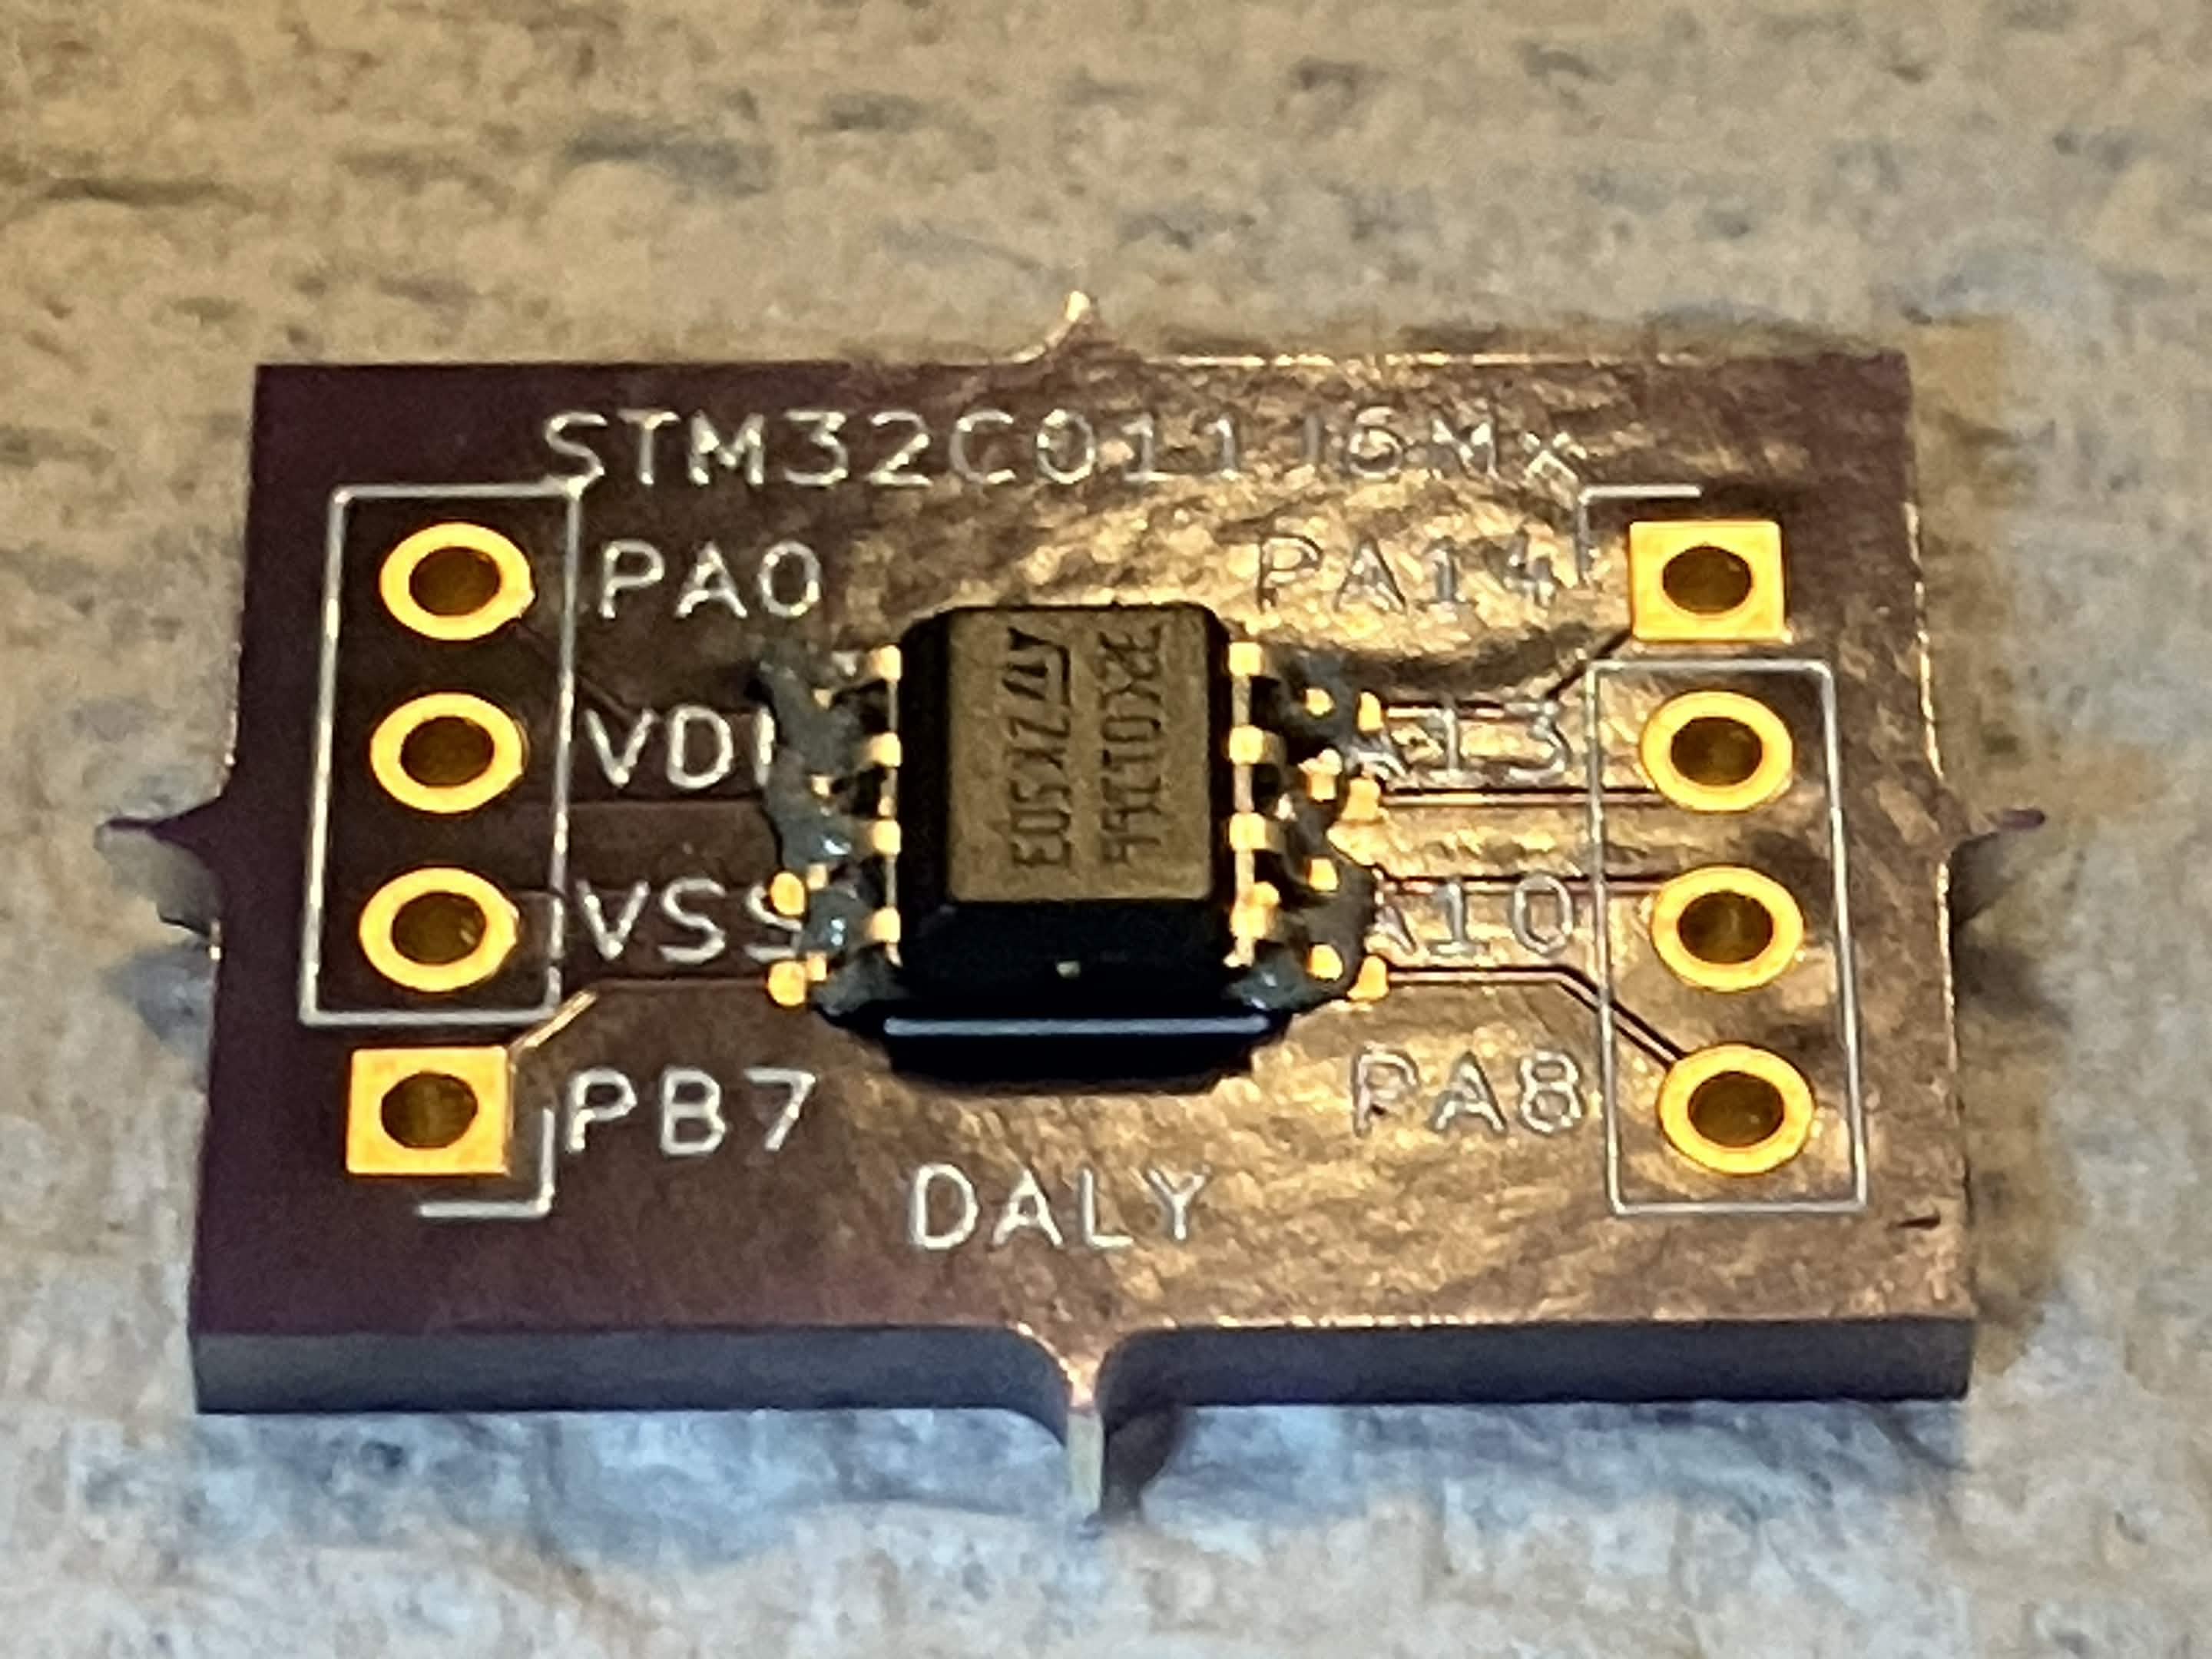
Then, after checking your solder paste for its preferred heating profile and configuring your hot plate forthwith, fire it up!
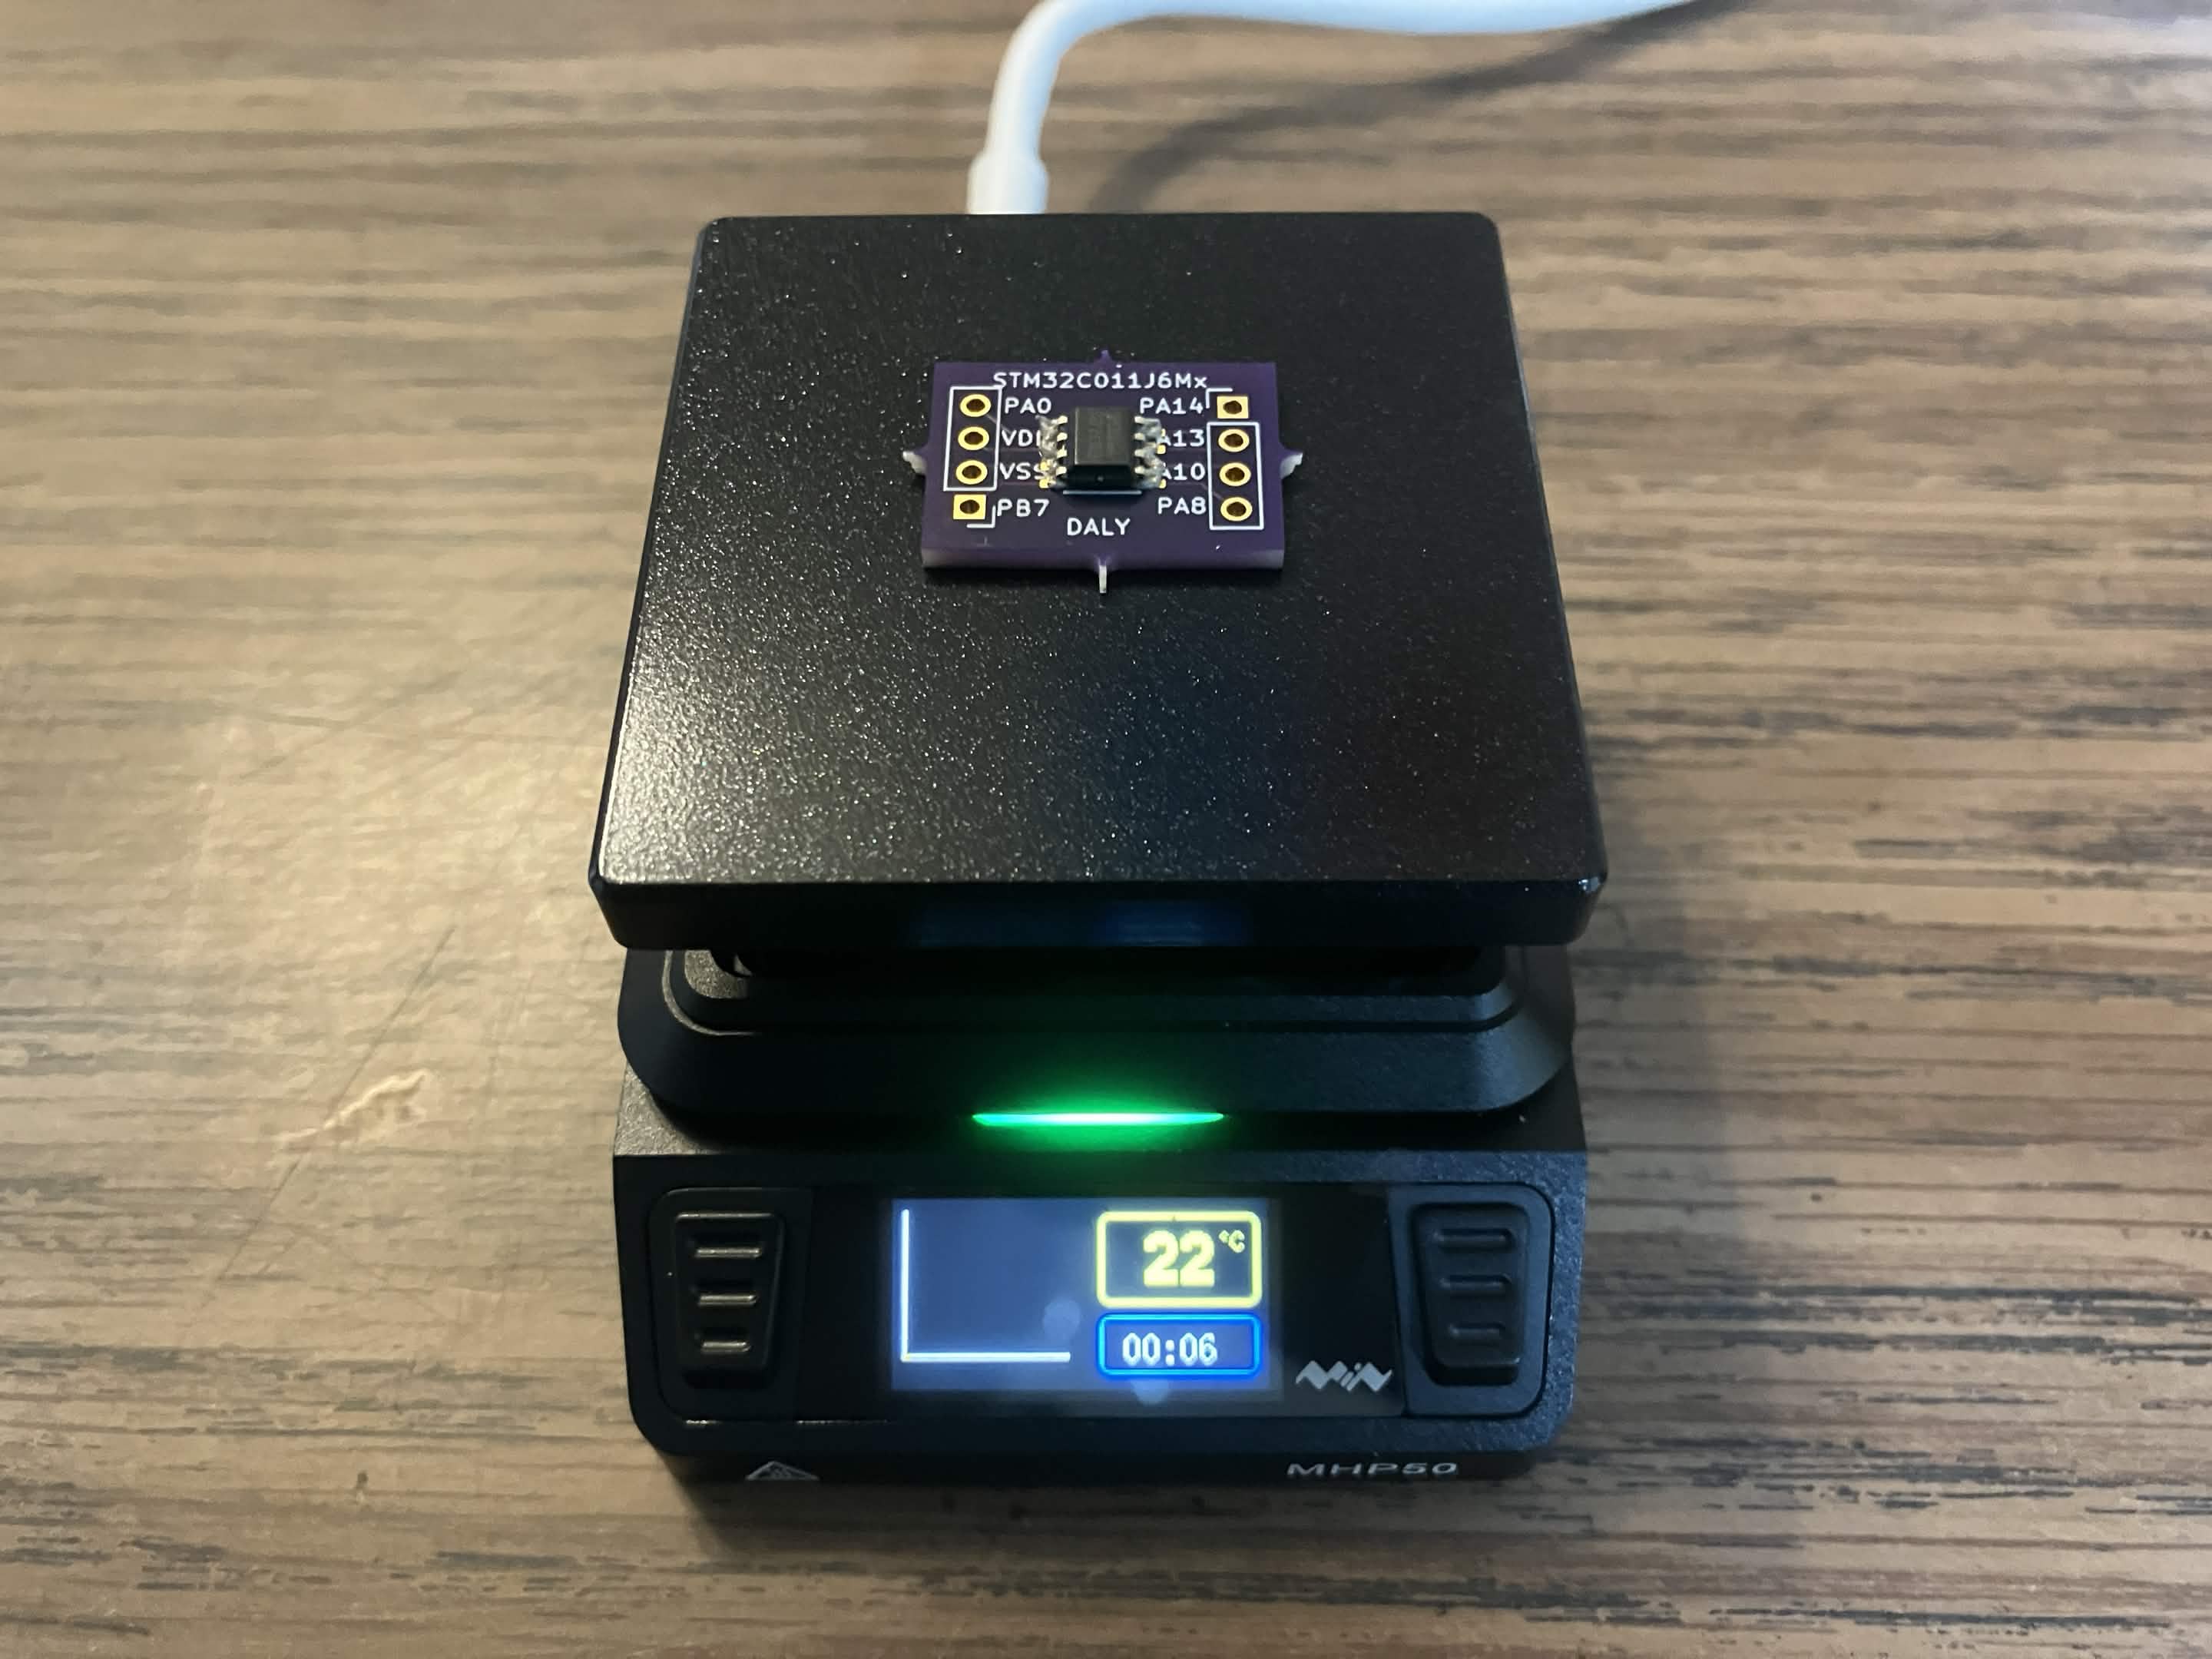
First, the solder paste will start to flow, and look very odd indeed:
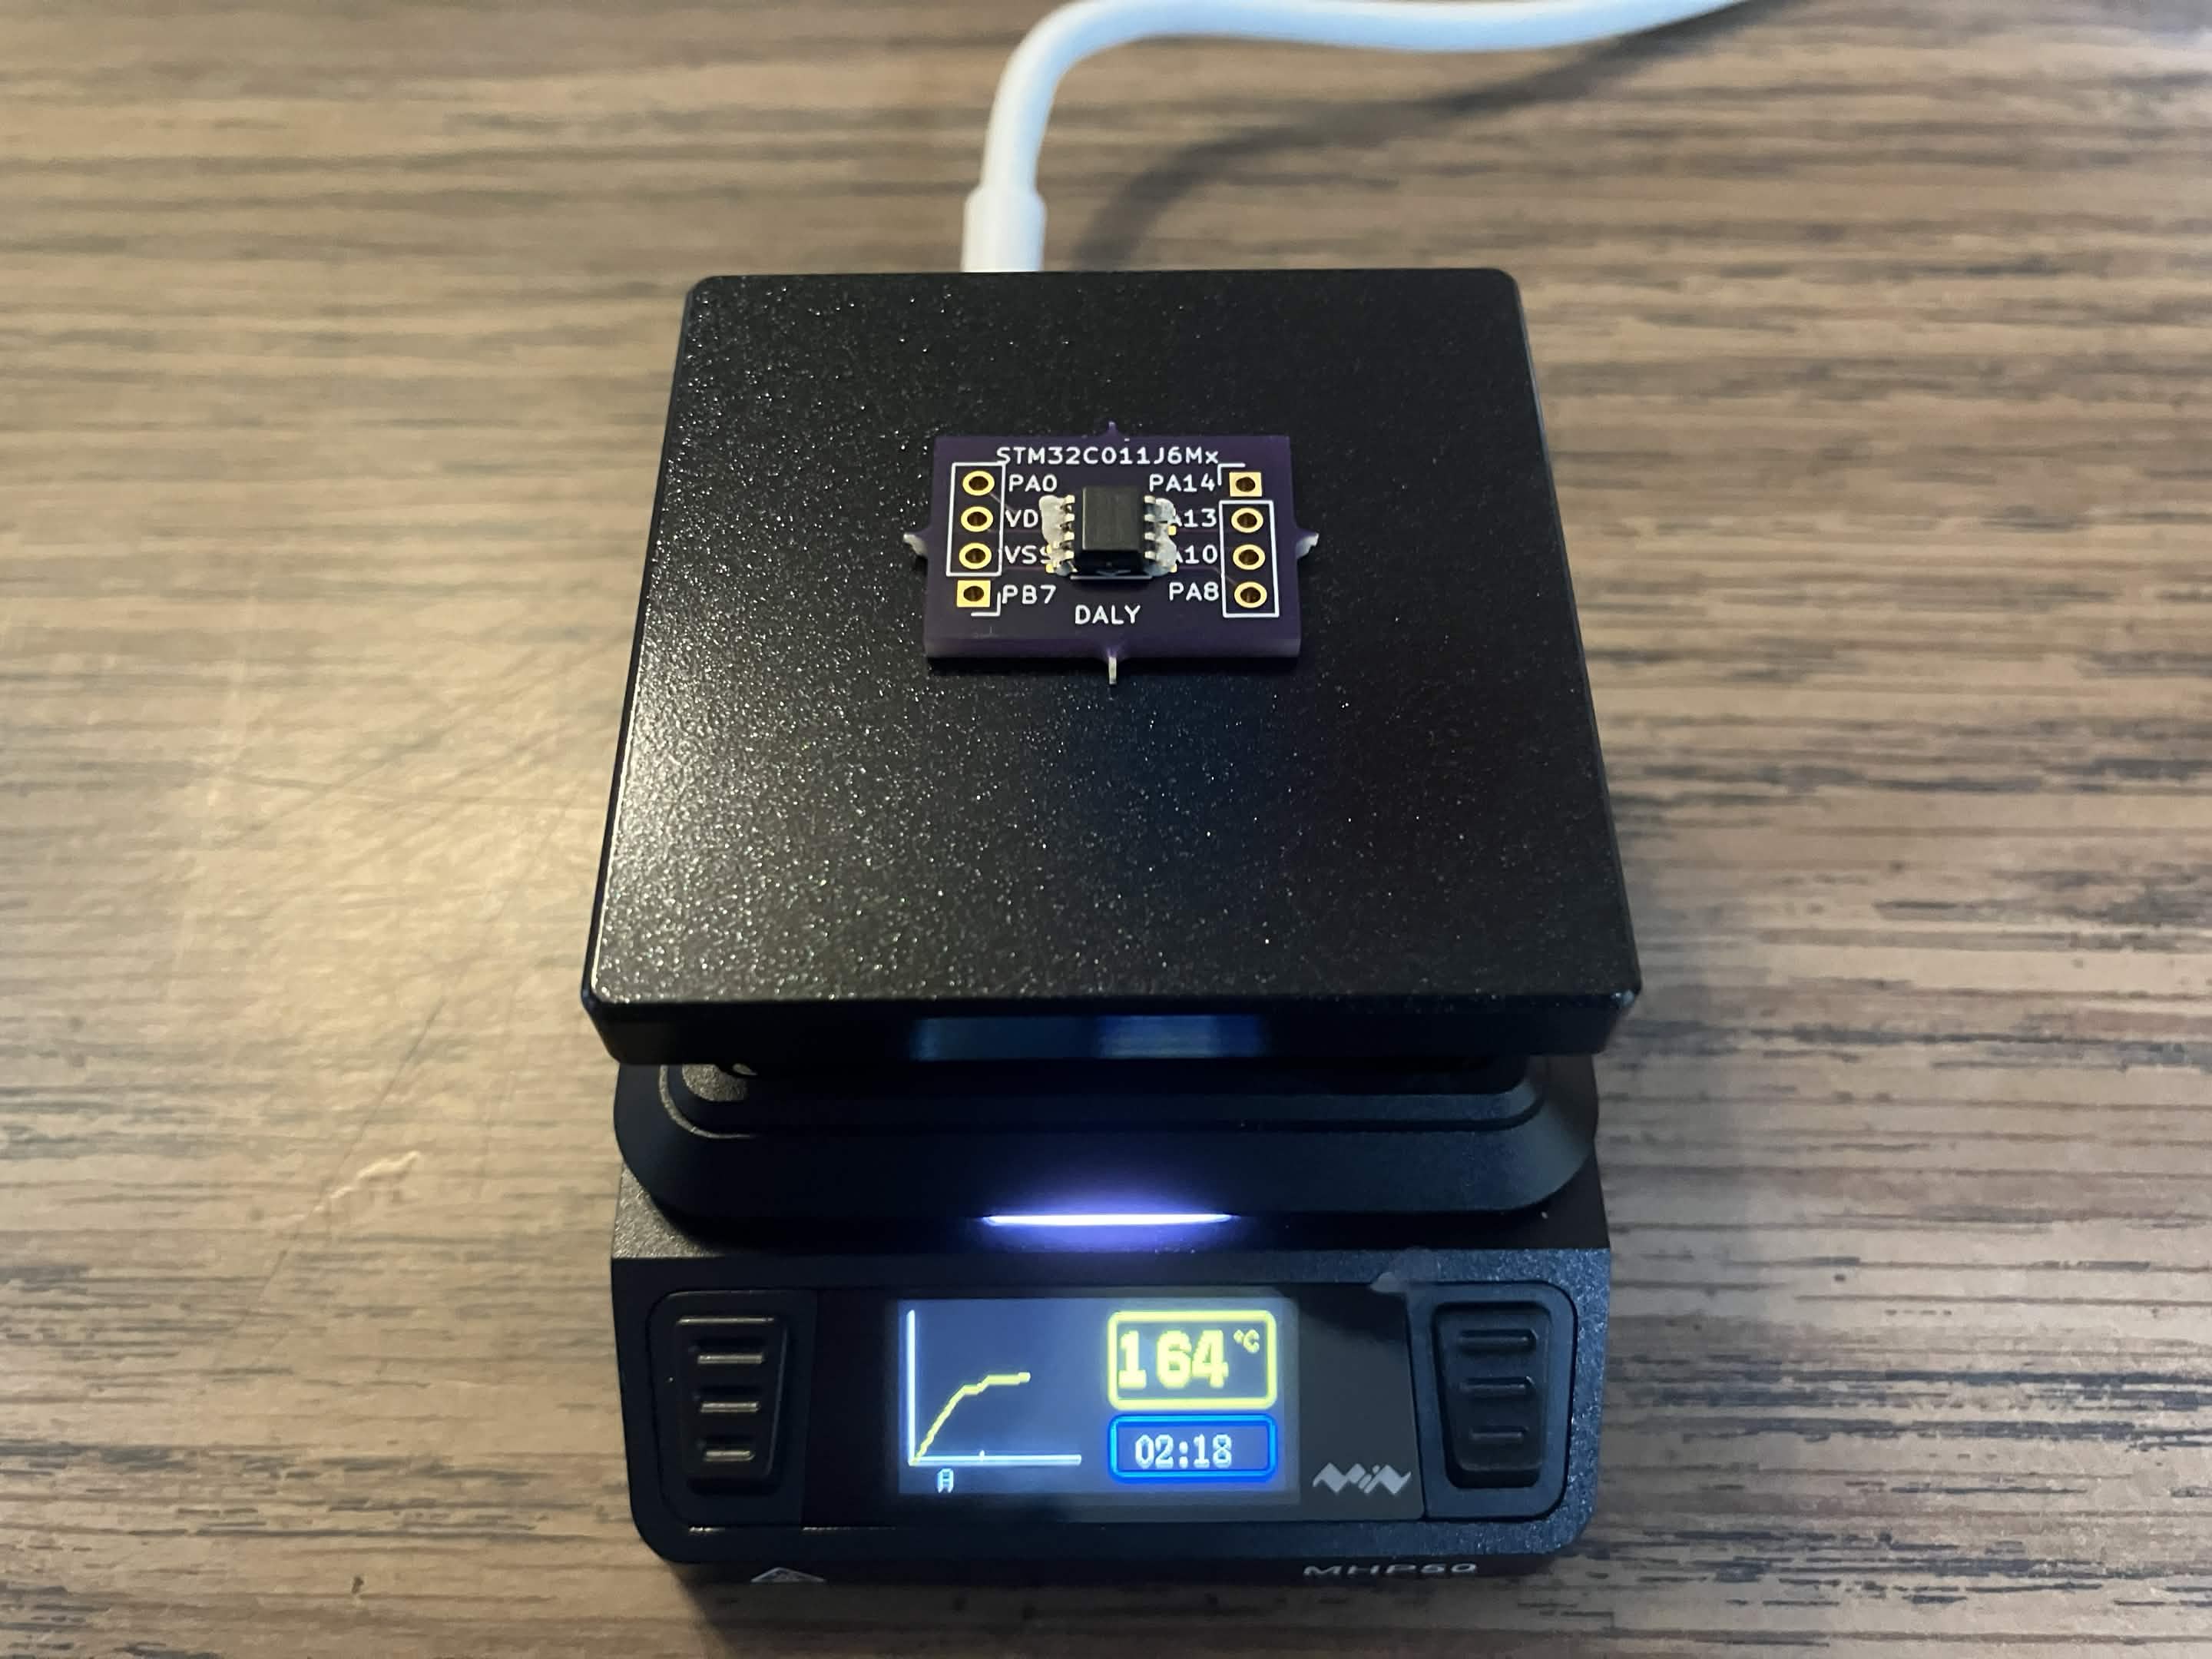
Once the hot plate reaches maximum temperature, though, it will begin the welding process, and start to look more professional:
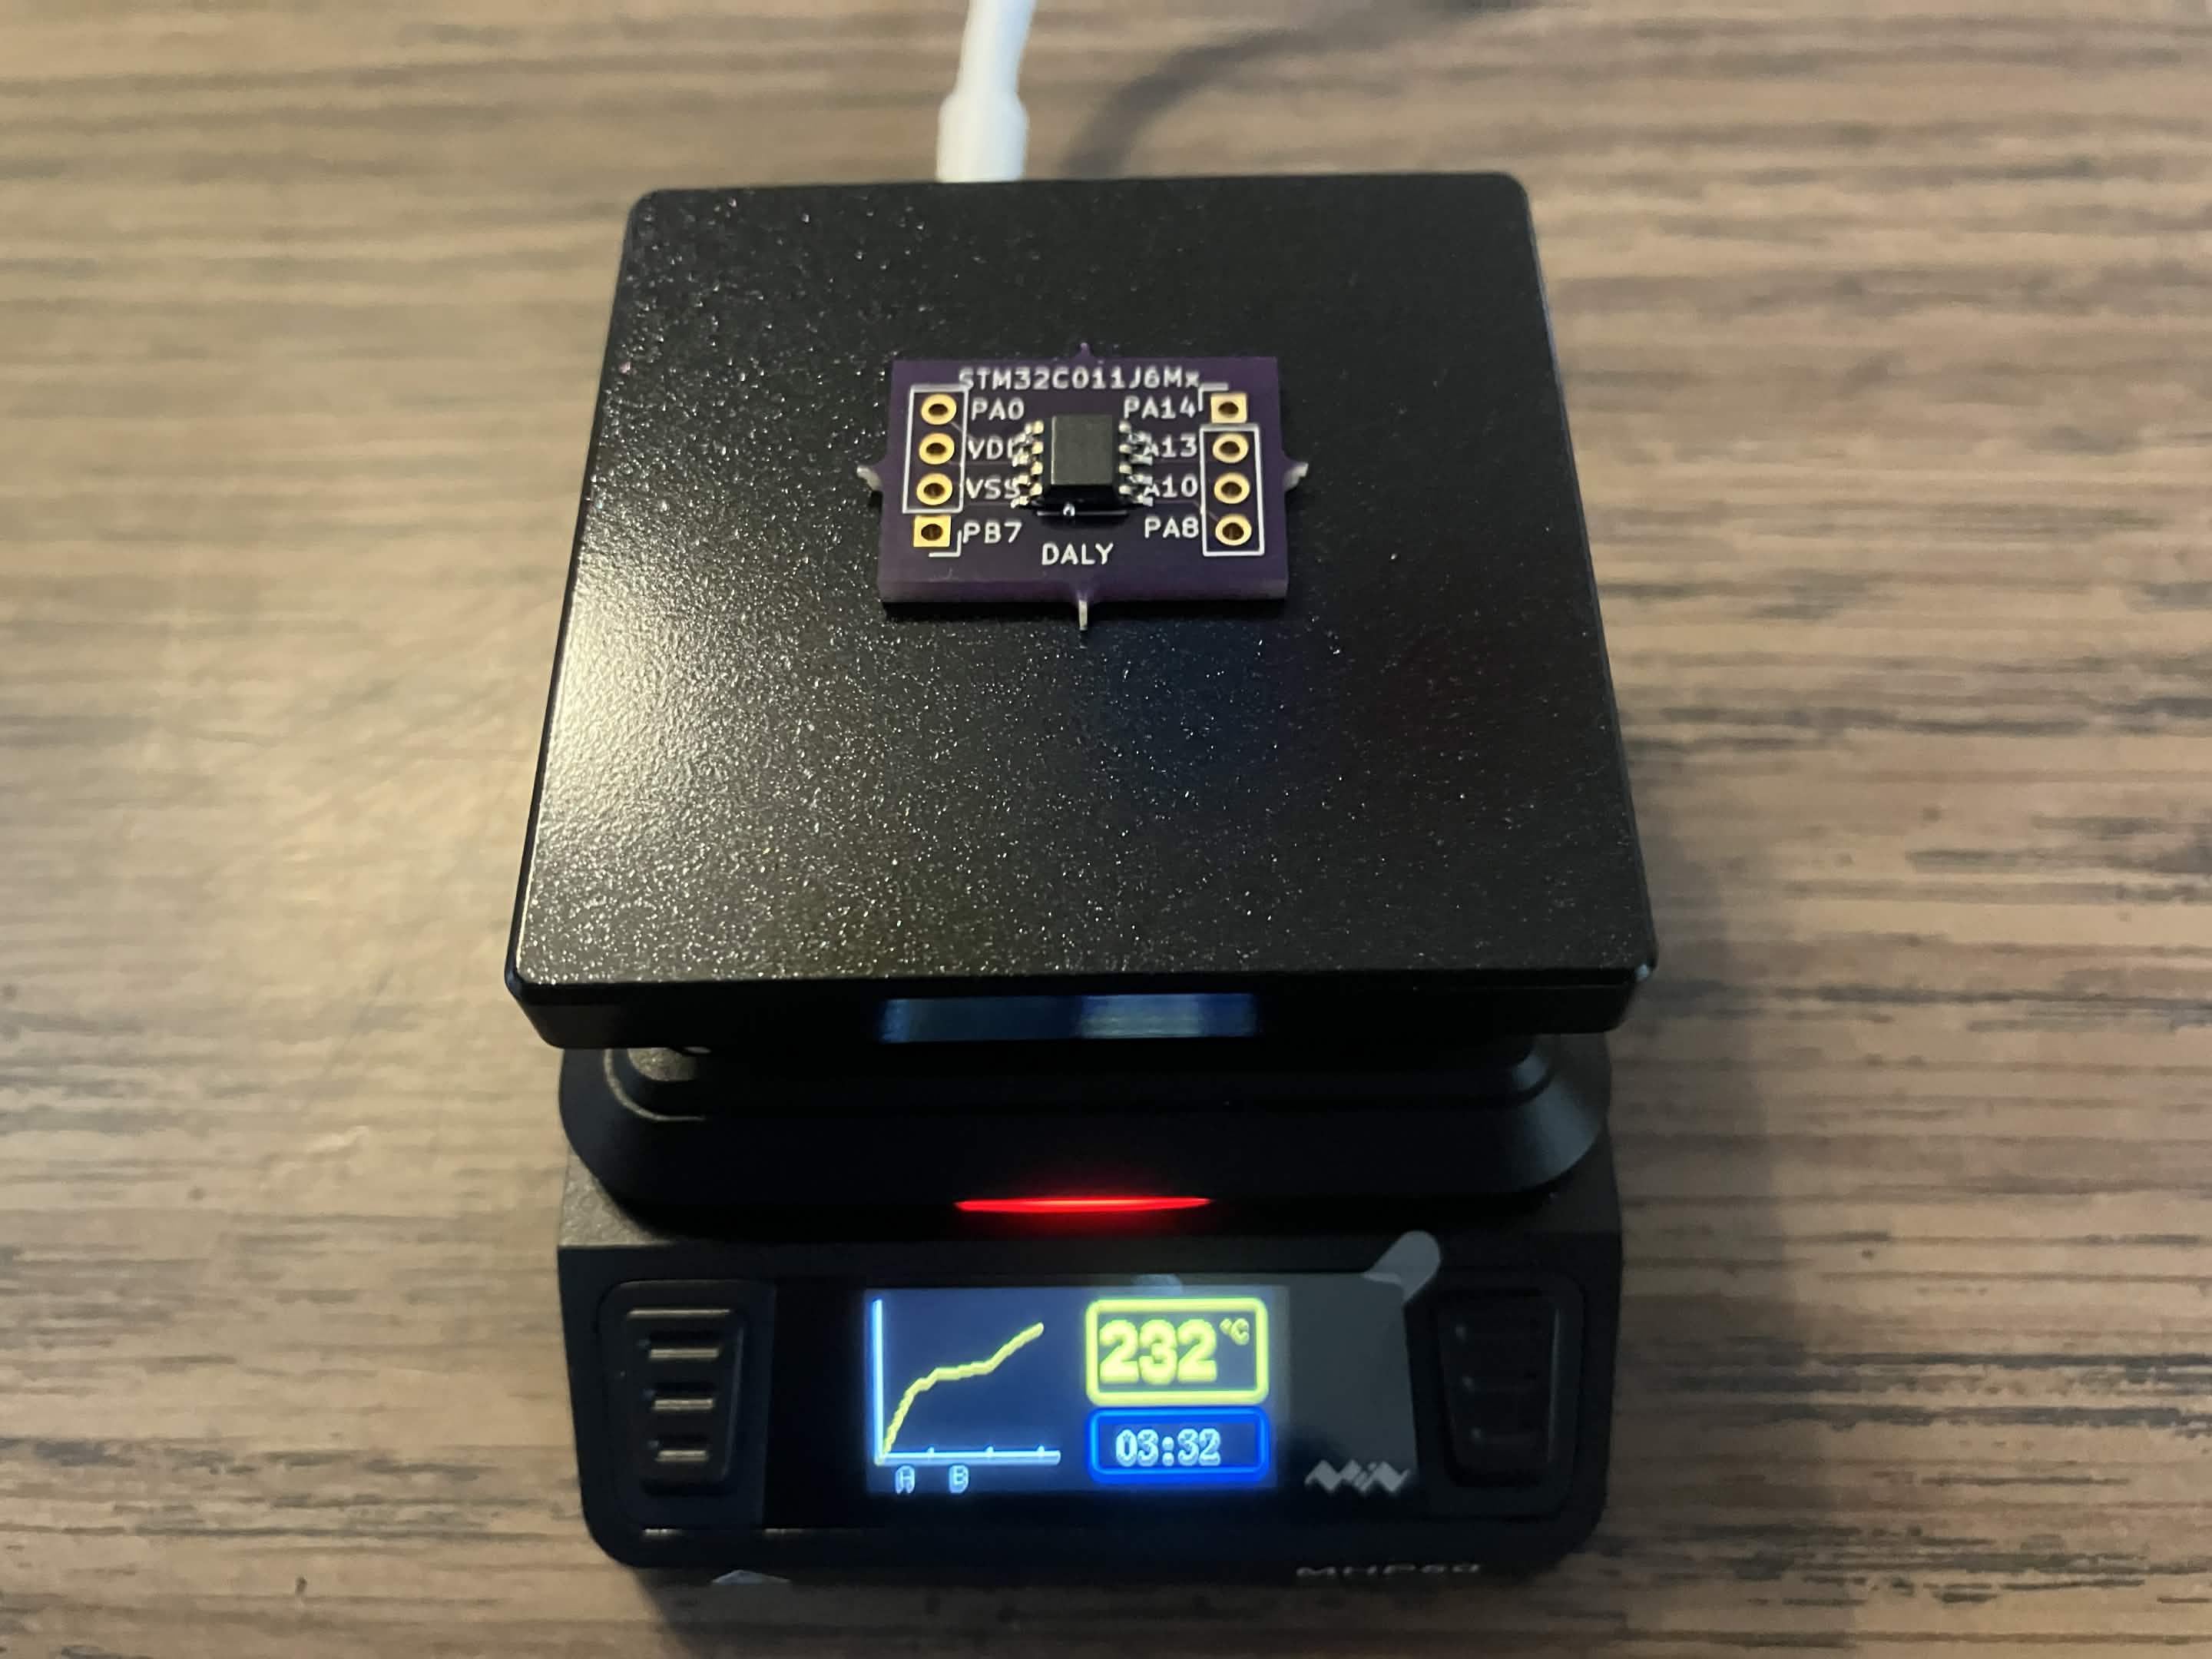
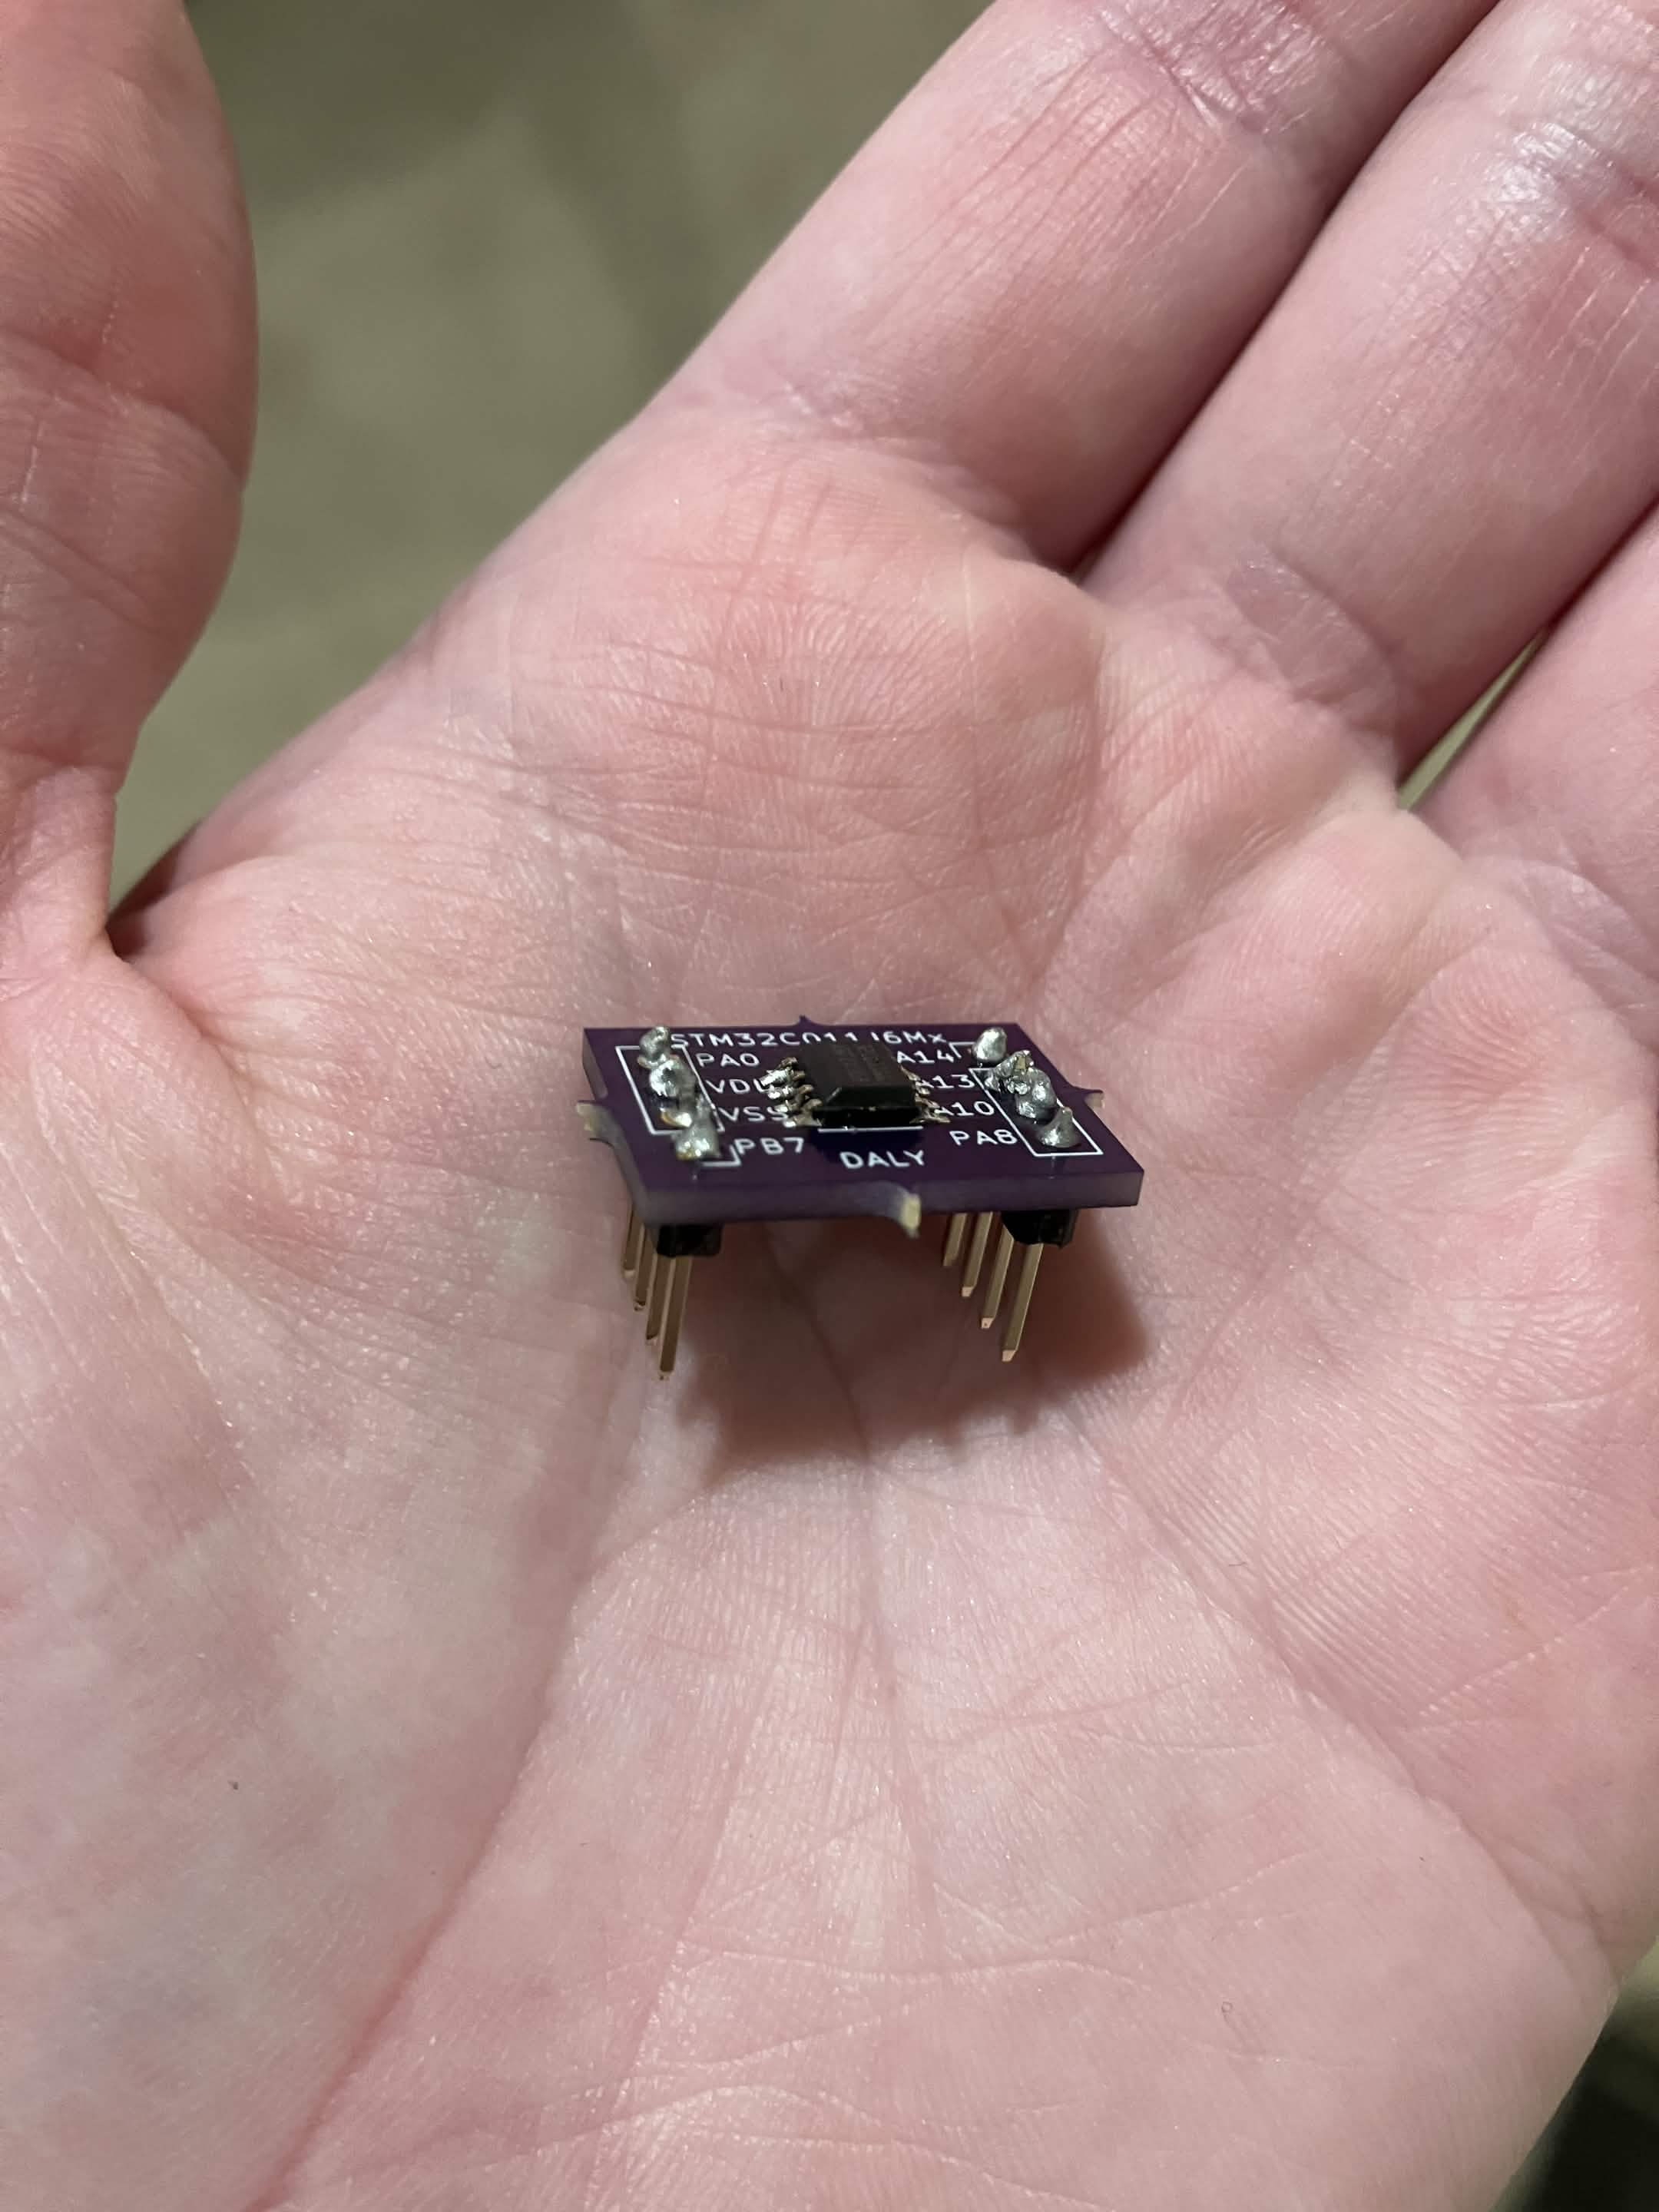
Once it cools down, there’s your PCB! I (poorly) hand-soldered some headers to it, and now my chip is good to go!
Next steps
This was about as simple as reflowing gets. Soldering smaller components (like tiny resistors and capacitors) would still be a nightmare without a pick-and-place machine. But for me personally, the next step is trying to program my newly-broken-out STM32 chip!
Thanks for reading!